
ChequeManager – Seamless Integration with Tally ERP / TallyPrime
Orion Insights
Editorial Team
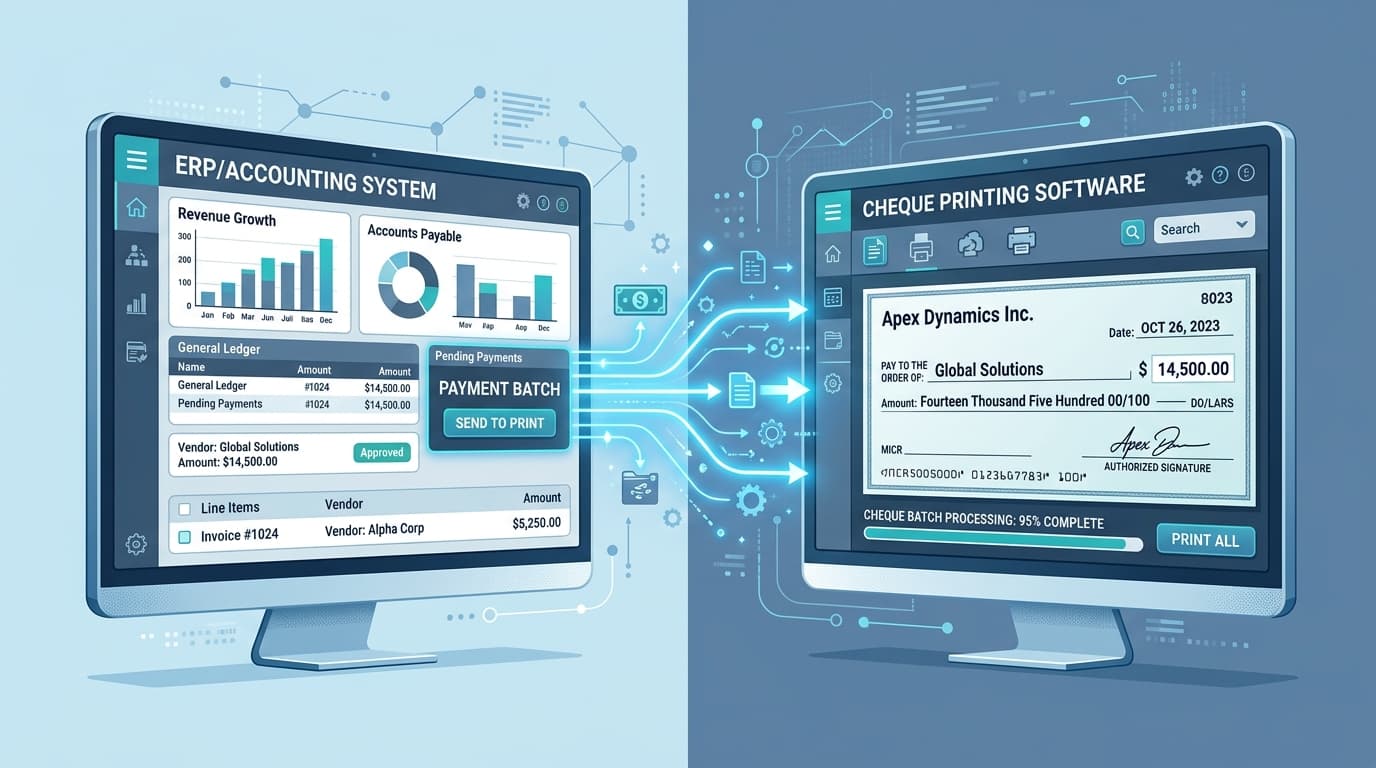
In many businesses, Tally ERP / TallyPrime is used for accounting, while cheque printing is often handled manually. This separation creates extra work: accountants enter payment vouchers in Tally and then manually write cheques or type details again into another software.
This process is slow, error-prone, and inefficient.
ChequeManager the Cheque Printing Software solves this problem through ODBC-based integration with Tally, allowing businesses to automatically import payment voucher data and print cheques instantly.
This integration eliminates duplicate data entry, reduces errors, and significantly speeds up the payment process.
Why Integrate ChequeManager with Tally?
Most companies already record payments in Tally using Payment Vouchers. These vouchers contain all the information required to issue a cheque:
- Payee Name
- Payment Amount
- Voucher Number
- Payment Date
- Narration / Remarks
- Bank Ledger
With ChequeManager’s ODBC connectivity, this information can be directly retrieved from Tally and used to generate cheques automatically.
Key Benefits
How the Integration Works
The integration uses ODBC (Open Database Connectivity).
When a payment voucher is created in Tally, ChequeManager can read that data through ODBC and prepare the cheque automatically.
Step 1 – Enable ODBC Server in Tally
Before ChequeManager can read data from Tally, the ODBC server inside Tally must be enabled.
- Open Tally ERP 9 or TallyPrime
- Press F12 – Advanced Configuration
- Enable the following option:
Enable ODBC Server : Yes - Set the port number:
ODBC Port : 9000 - Restart Tally.
Important: The Tally company must remain open while importing data.
Step 2 – Configure ChequeManager ODBC Connection
Next, configure the connection inside ChequeManager.
Server : localhost
Port   : 9000
If Tally is installed on another computer in the network, enter that system’s IP address. (e.g., 192.168.1.10)
Step 3 – Fetch Payment Voucher Data
ChequeManager retrieves payment vouchers using an ODBC query.
SELECT $Date, $VoucherNumber, $PartyLedgerName, $Amount, $Narration
FROM Voucher WHERE $VoucherTypeName='Payment'
This query extracts payment voucher information required to print a cheque.
Step 4 – Map Tally Fields to ChequeManager
| Tally Field | ChequeManager Field |
|---|---|
| $Date | Cheque Date |
| $PartyLedgerName | Payee Name |
| $Amount | Cheque Amount |
| $VoucherNumber | Reference Number |
| $Narration | Remarks |
Step 5 – Import Voucher Data
Users can preview the voucher data before importing. Typical workflow:
- Open ChequeManager
- Click Import from Tally
- Retrieve payment vouchers
- Preview voucher list and select required entries
- Click Import
Step 6 – Print Cheques Instantly
After importing, ChequeManager can print cheques using preconfigured layouts. Features include:
- Bank-specific cheque formats
- Alignment adjustments
- Multi-bank support
- Cheque register records
Best Practices for Tally Integration
Keep Tally Running
The Tally company must be open when ChequeManager imports data.
Import Only Payment Vouchers
Cheque printing should be limited to Payment vouchers, not receipts.
Avoid Duplicate Imports
Use filters such as Voucher number, Date range, Bank ledger.
Verify Data Before Printing
Always preview voucher data before importing to ensure accuracy.
Conclusion
Integrating ChequeManager with Tally ERP / TallyPrime through ODBC creates a powerful workflow for businesses that rely on cheque payments.
By eliminating manual entry and automating cheque preparation, businesses gain faster operations, better accuracy, professional cheque printing, and improved financial control. ChequeManager acts as the perfect bridge between accounting data and cheque printing, making payment processing simpler, faster, and more reliable.
Ready to Automate Your Cheque Printing?
Experience seamless integration with Tally ERP and eliminate manual cheque writing errors forever.
Get a Free Demo